Case Management Guide
Case management is the heart of DependOn.It. It's the process of identifying a beneficiary's needs and coordinating solutions to meet those needs.
This guide will walk you through the entire process of creating and managing a case.
1. Creating a Case
To create a new case, follow these steps:
- Navigate to the Case Management section from the main sidebar.
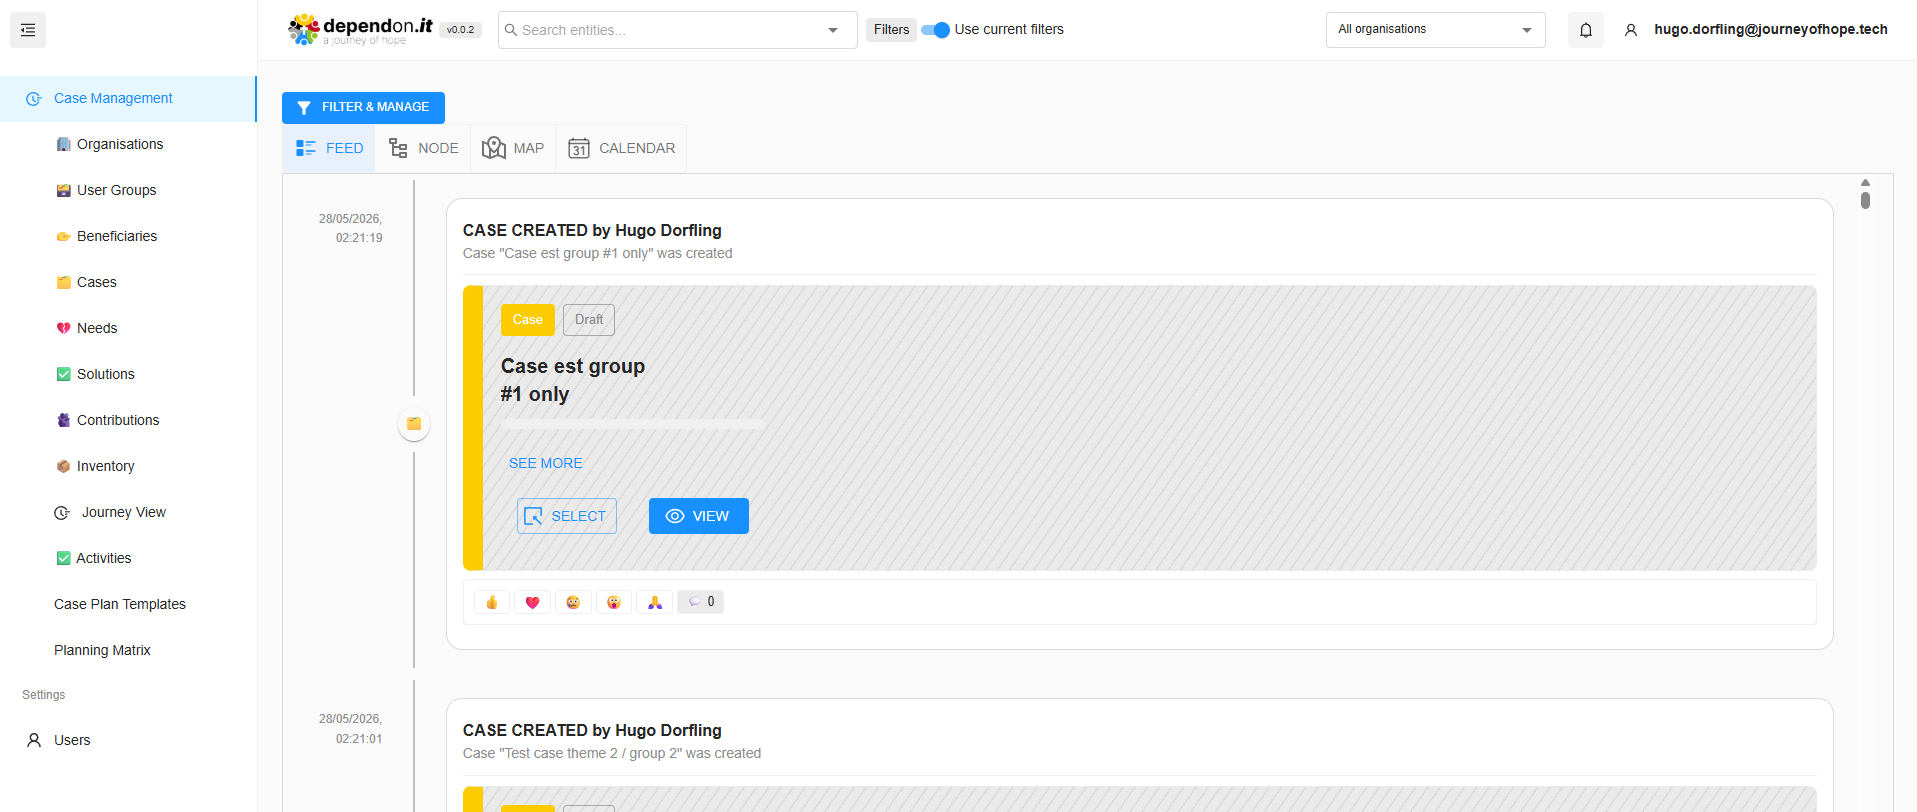
- Click the + Create Case button in the cases accordion.
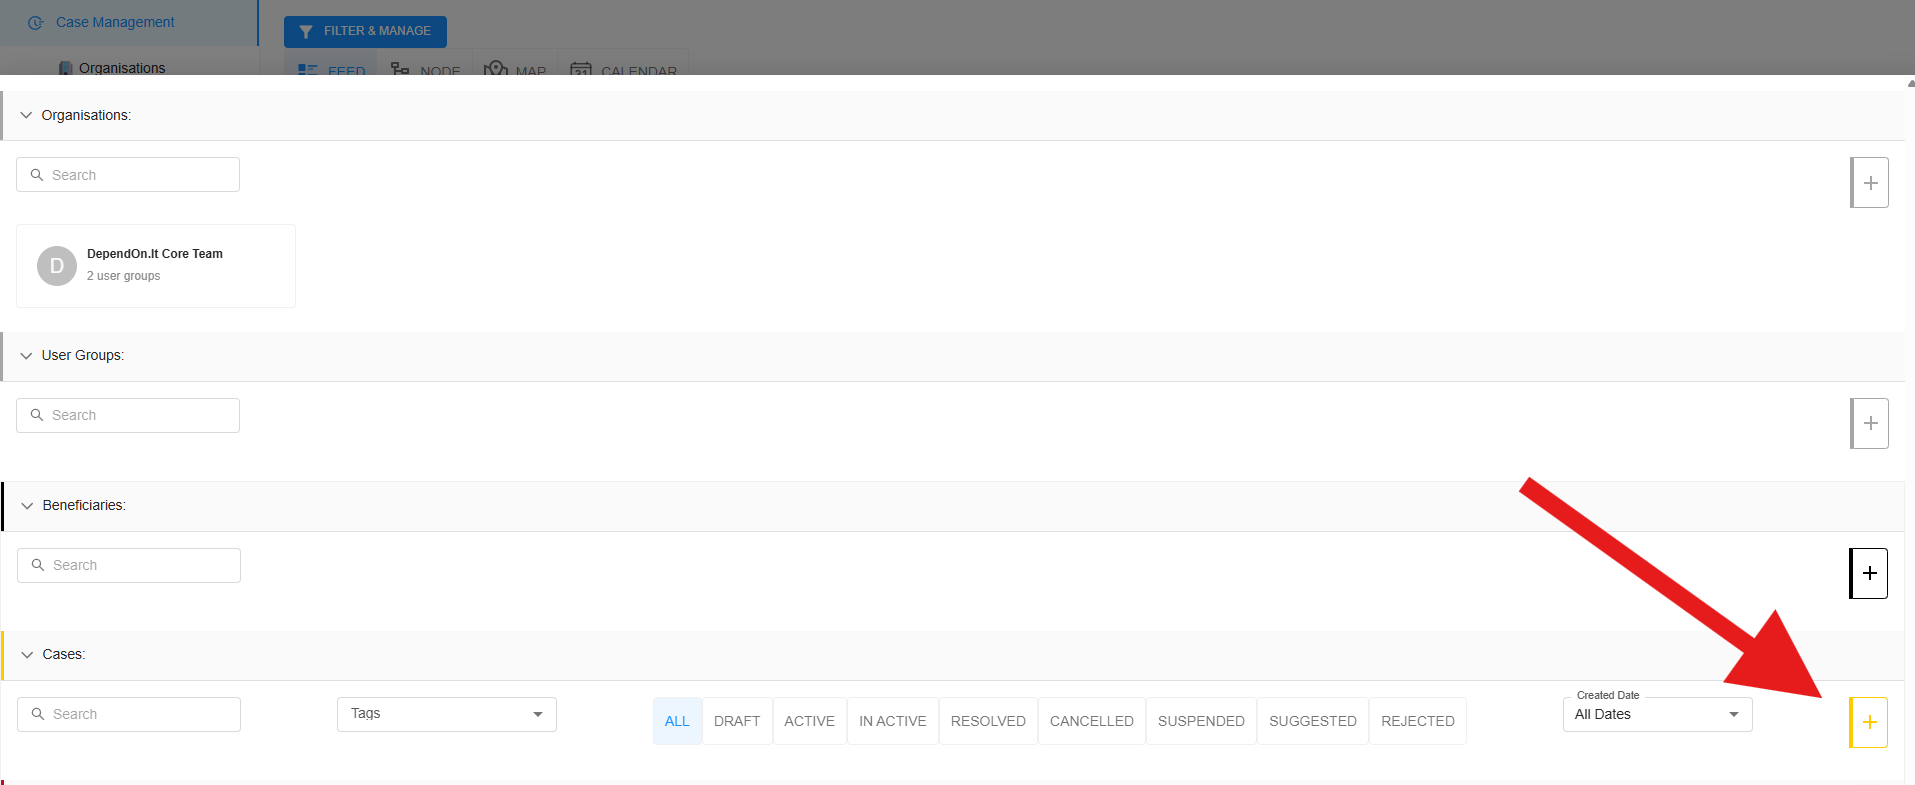 3. Choose a Template: You can start from a blank case or use an existing template.
4. Enter Basic Information:
3. Choose a Template: You can start from a blank case or use an existing template.
4. Enter Basic Information:
- Name: Give the case a clear, descriptive name.
- Description: Provide detailed context about the situation.
- Set Location:
- Use the map to pin the exact location where help is needed.
- Click Finalize location to confirm.
- Assign Beneficiary (Optional): You can link the case to an existing beneficiary or create a new one later.
- Click Create Case.
2. Adding Needs
Once a case is created, you can start adding specific needs:
- Open the case you just created.
- Go to the Needs tab.
- Click + Add Need.
- Define the need:
- Name: e.g., "Food Parcel", "Emergency Shelter".
- Status: Set the initial status (e.g., OPEN).
- Description: Detailed requirements.
- Start Date: When the need begins.
- Click Finalize Create Need.
3. Managing Solutions and Contributions
After a need is identified, the community can propose solutions and make contributions.
- Solutions: Propose different ways to meet a need. For example, if the need is "Food", solutions could be "Donation from local supermarket" or "Community food drive".
- Contributions: Once a solution is agreed upon, users can log their contributions towards it.
4. Sharing Cases with User Groups
To collaborate with others, you can share your case with a User Group:
- Click the Manage button on the Case view.
- Select Share Case With User Group.
- Choose the target User Group from the list.
- Click Submit.
:::info Approval Required The manager of the User Group must Accept the share request before the case becomes visible to all members of that group. :::
5. Closing a Case
When all needs have been met and the situation is resolved, you can change the case status to RESOLVED to close it.